
How it works
The process
Simple, from the first click to your report
No queues, no guesswork. Every step is clear, and you can see exactly where your test has reached at any time.
Book online or call
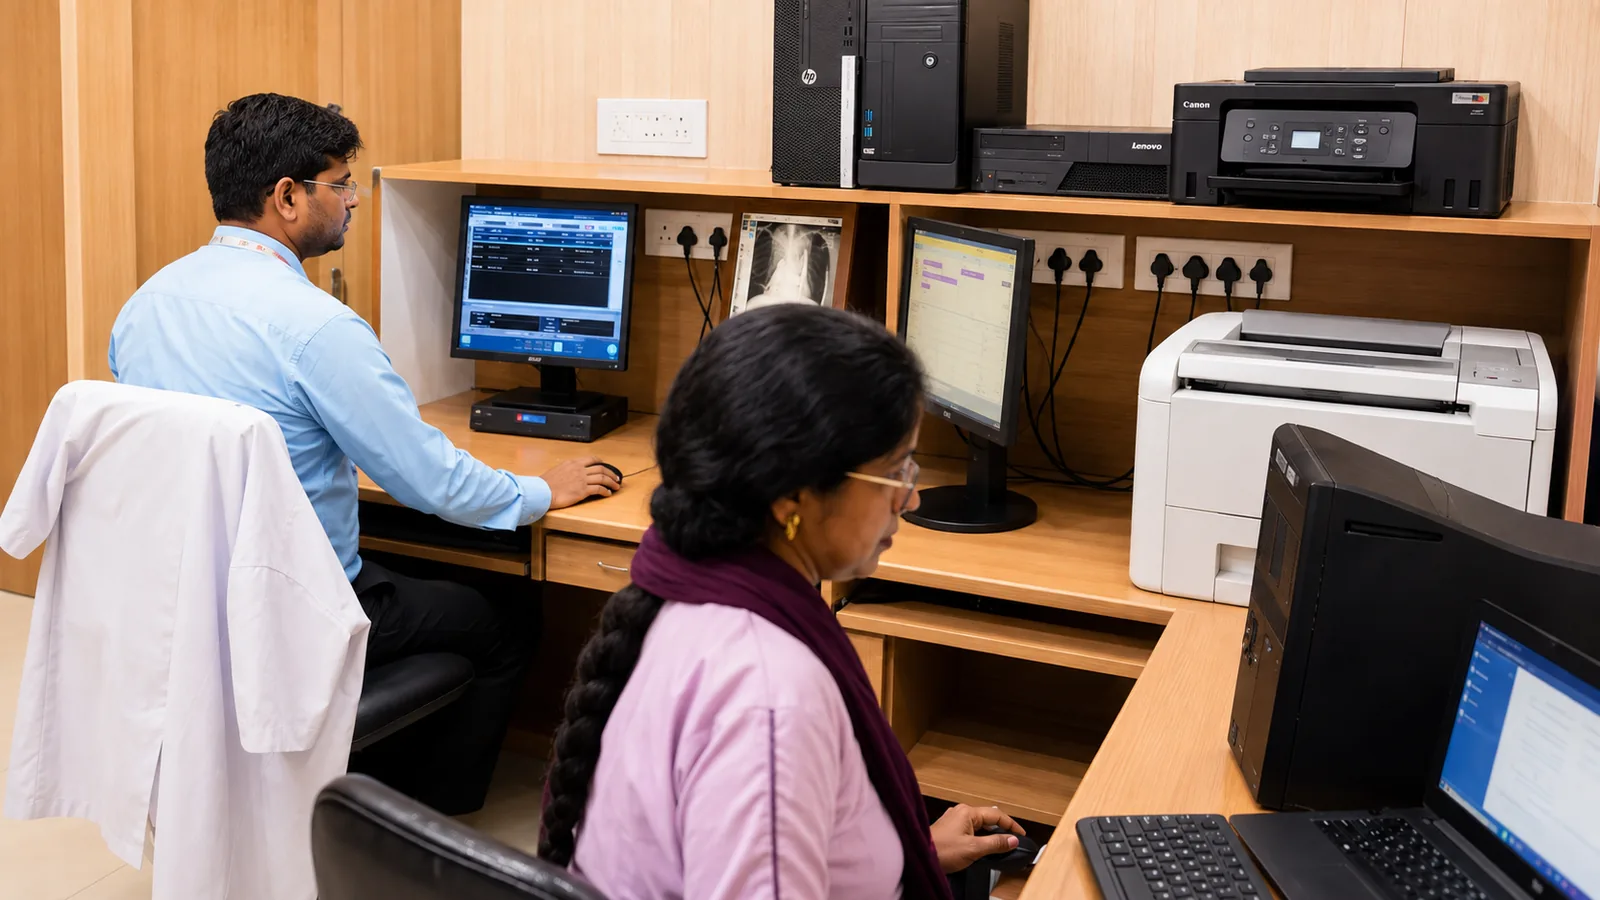
Choose your test or a health package, pick a centre visit or home collection, and select a time that suits you. No account is needed to book.
Registration and preparation check
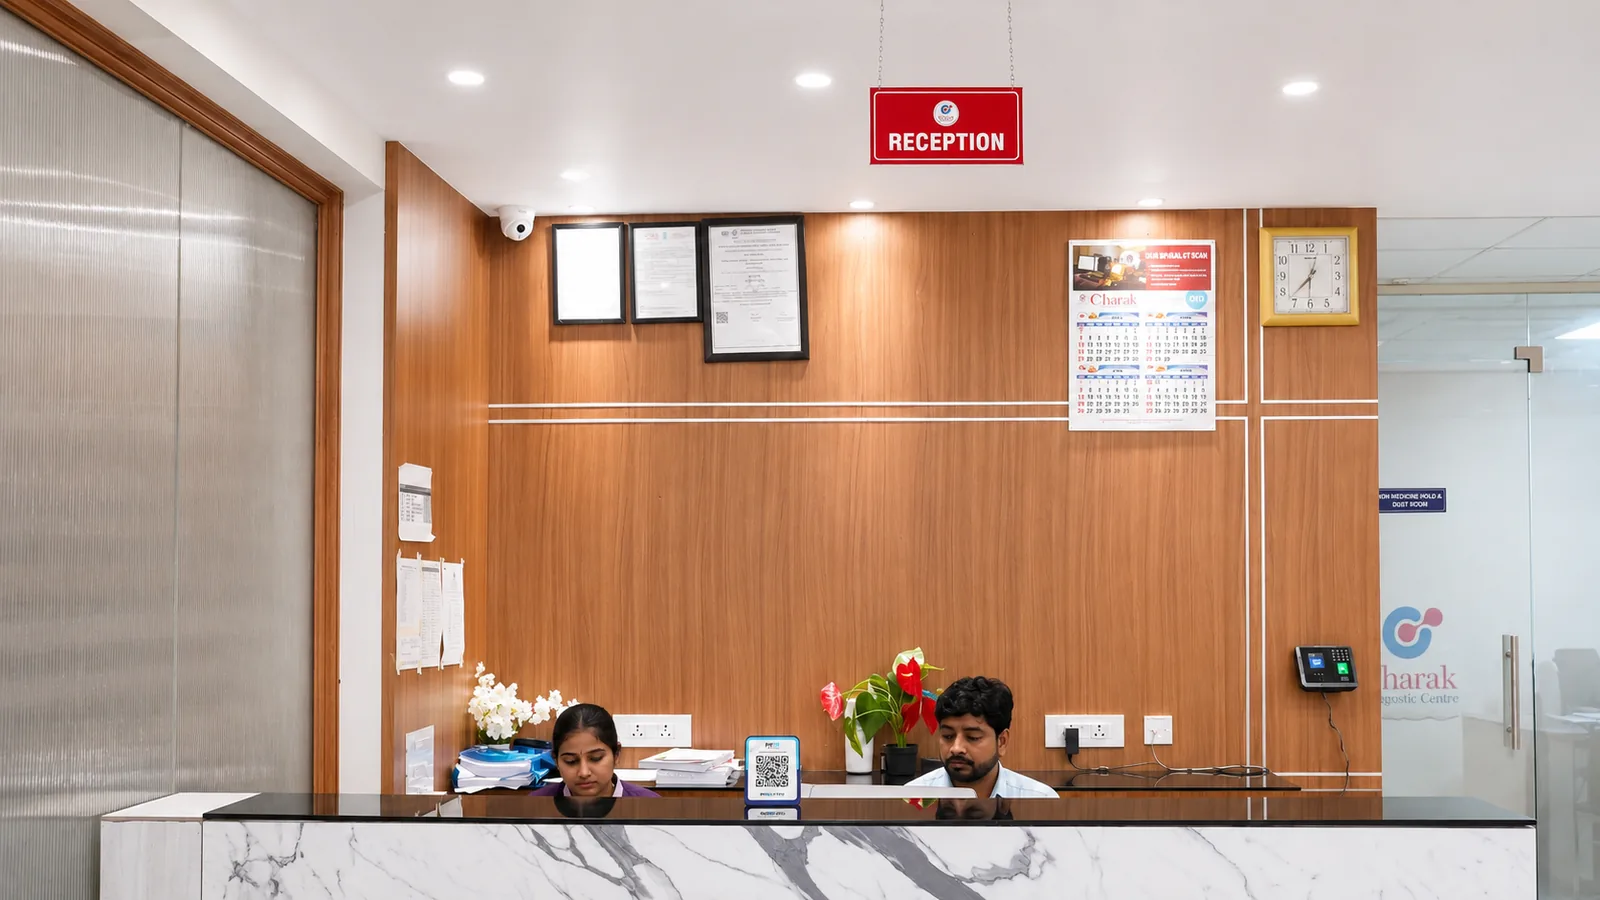
Reception enters your requisition into the laboratory information system and issues the receipt. Before any sample is taken, your prescription and your preparation are checked — this is the step that stops a fasting test being drawn on a full stomach.
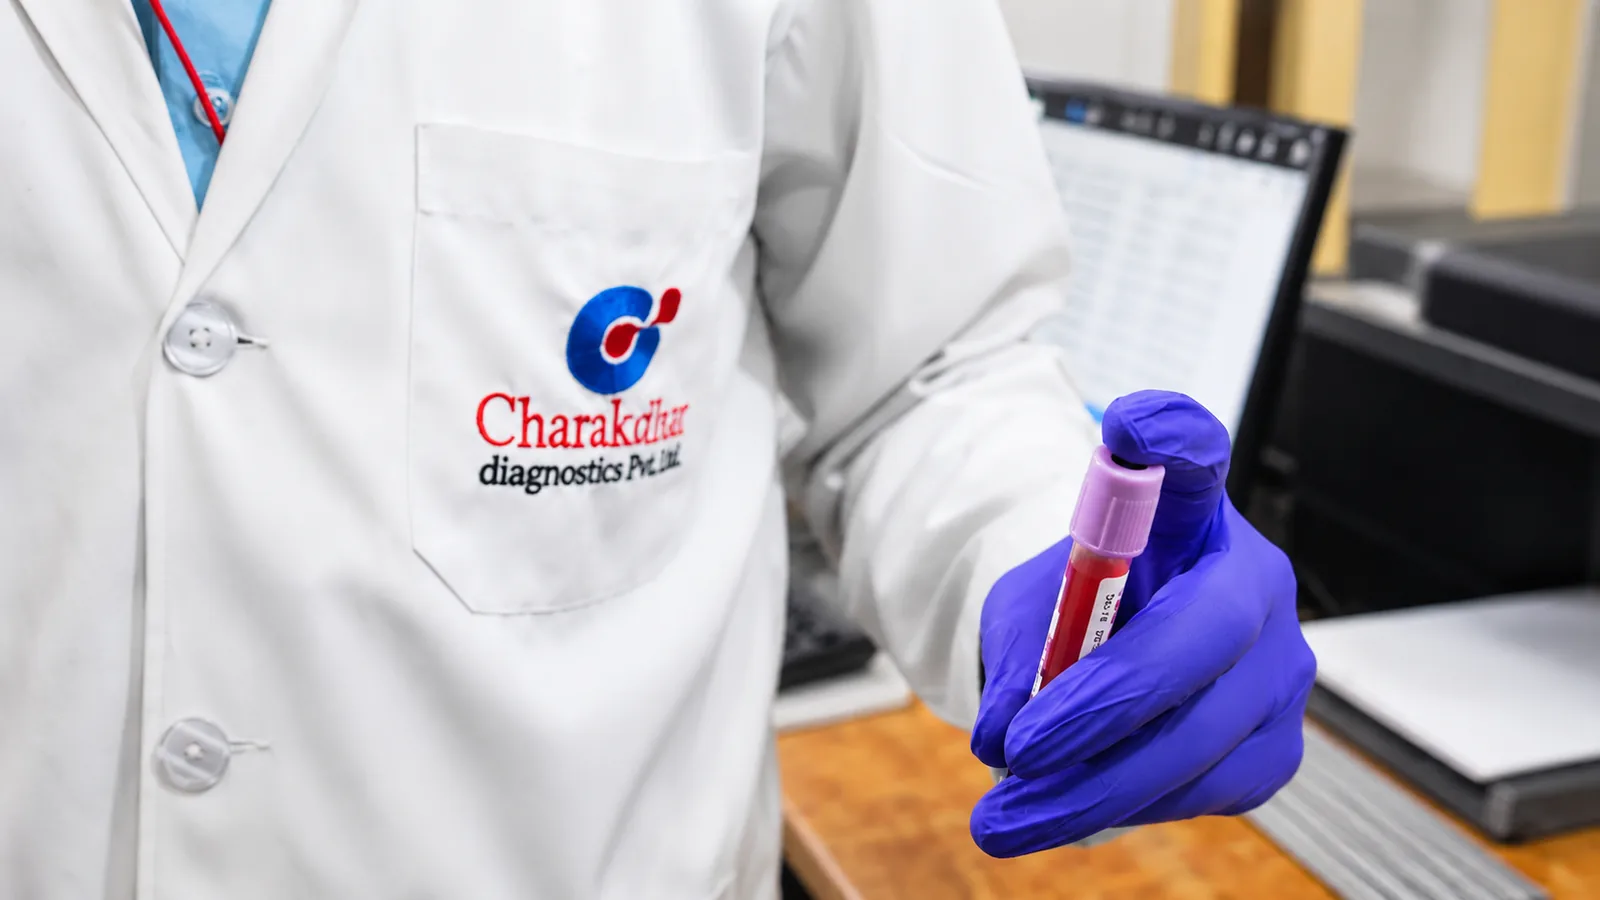
Barcoded collection
A barcode is generated for your sample and the label goes on the vial in front of you, whether that is at the centre or on a home visit. From that moment the sample is identified by code rather than by handwriting.
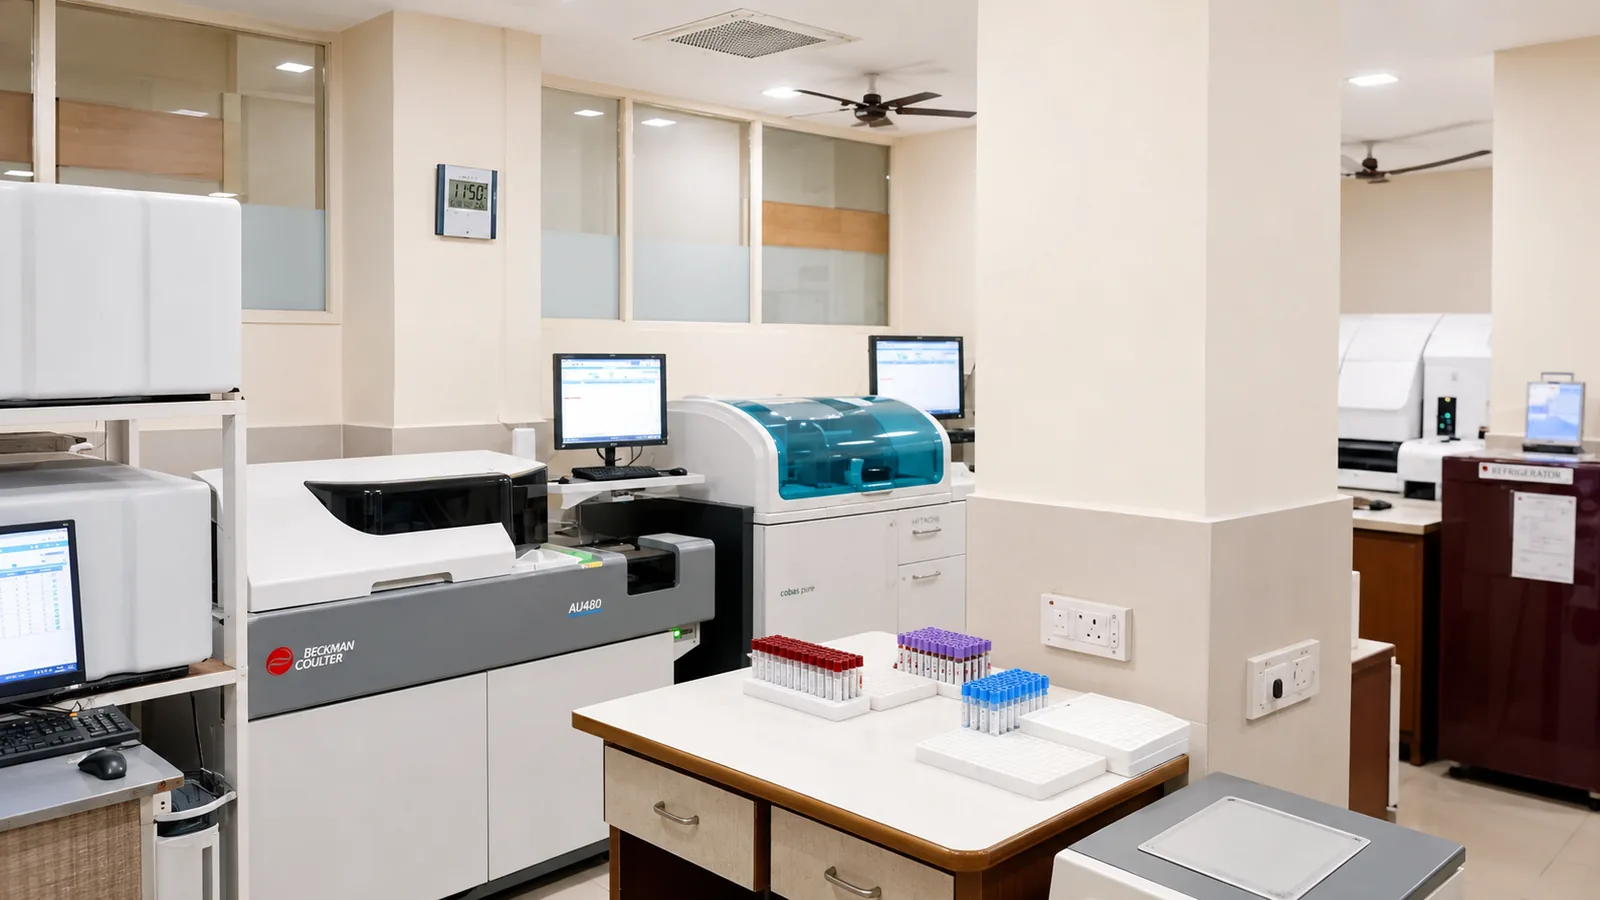
Testing, then authentication
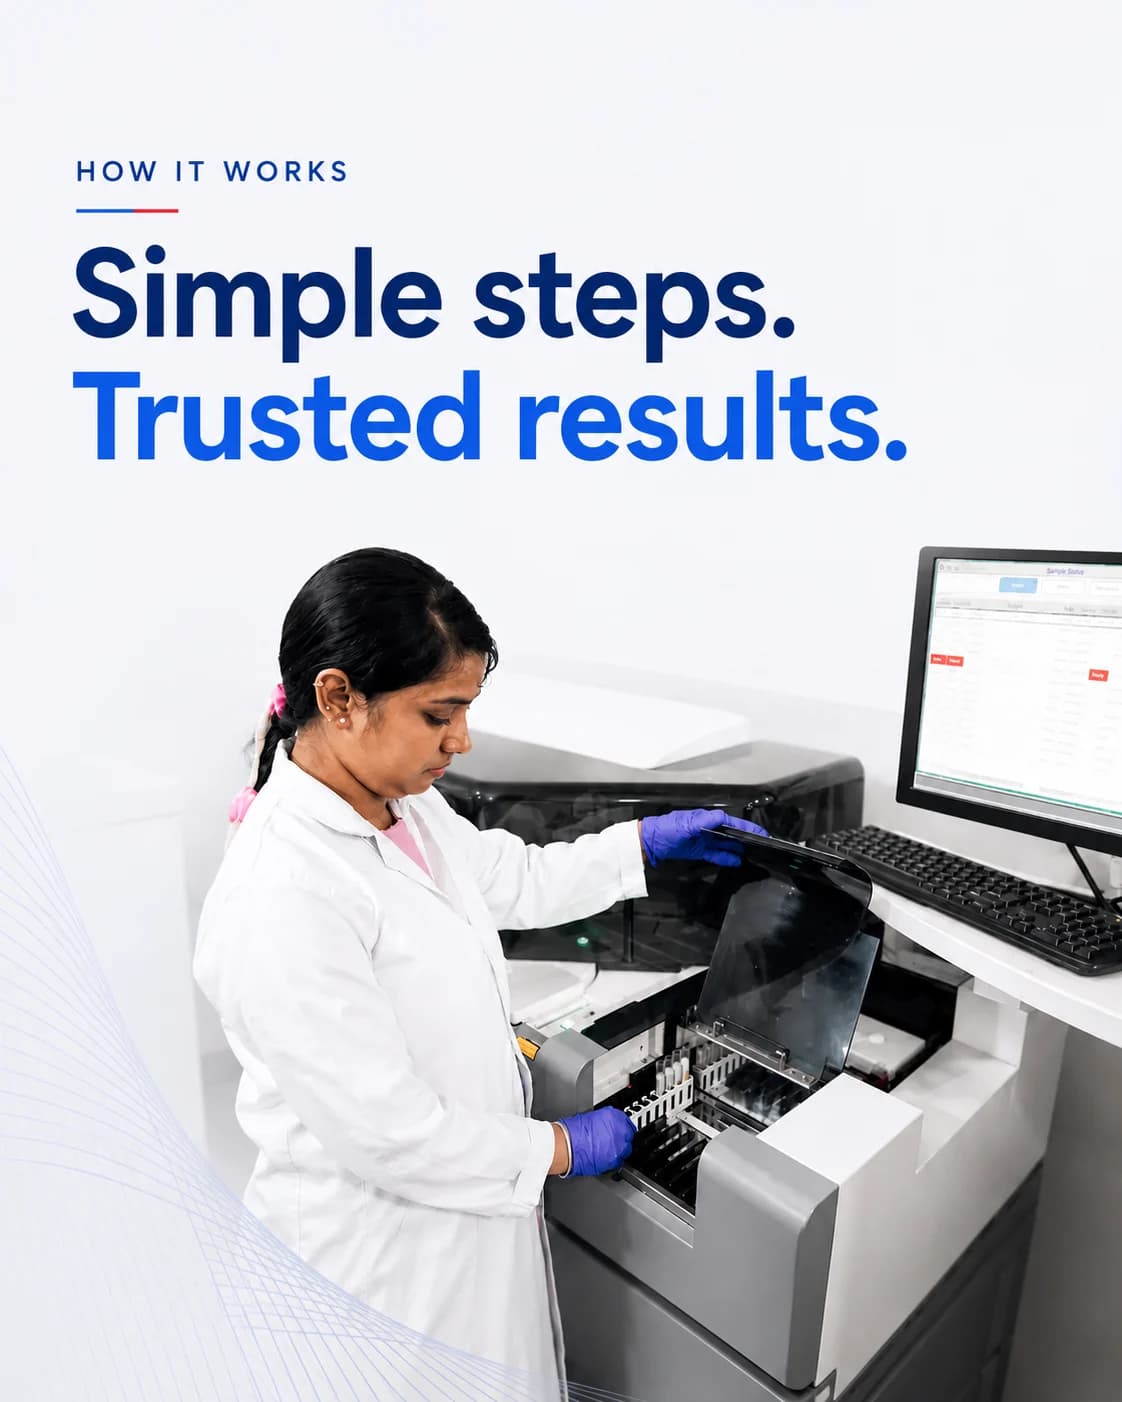
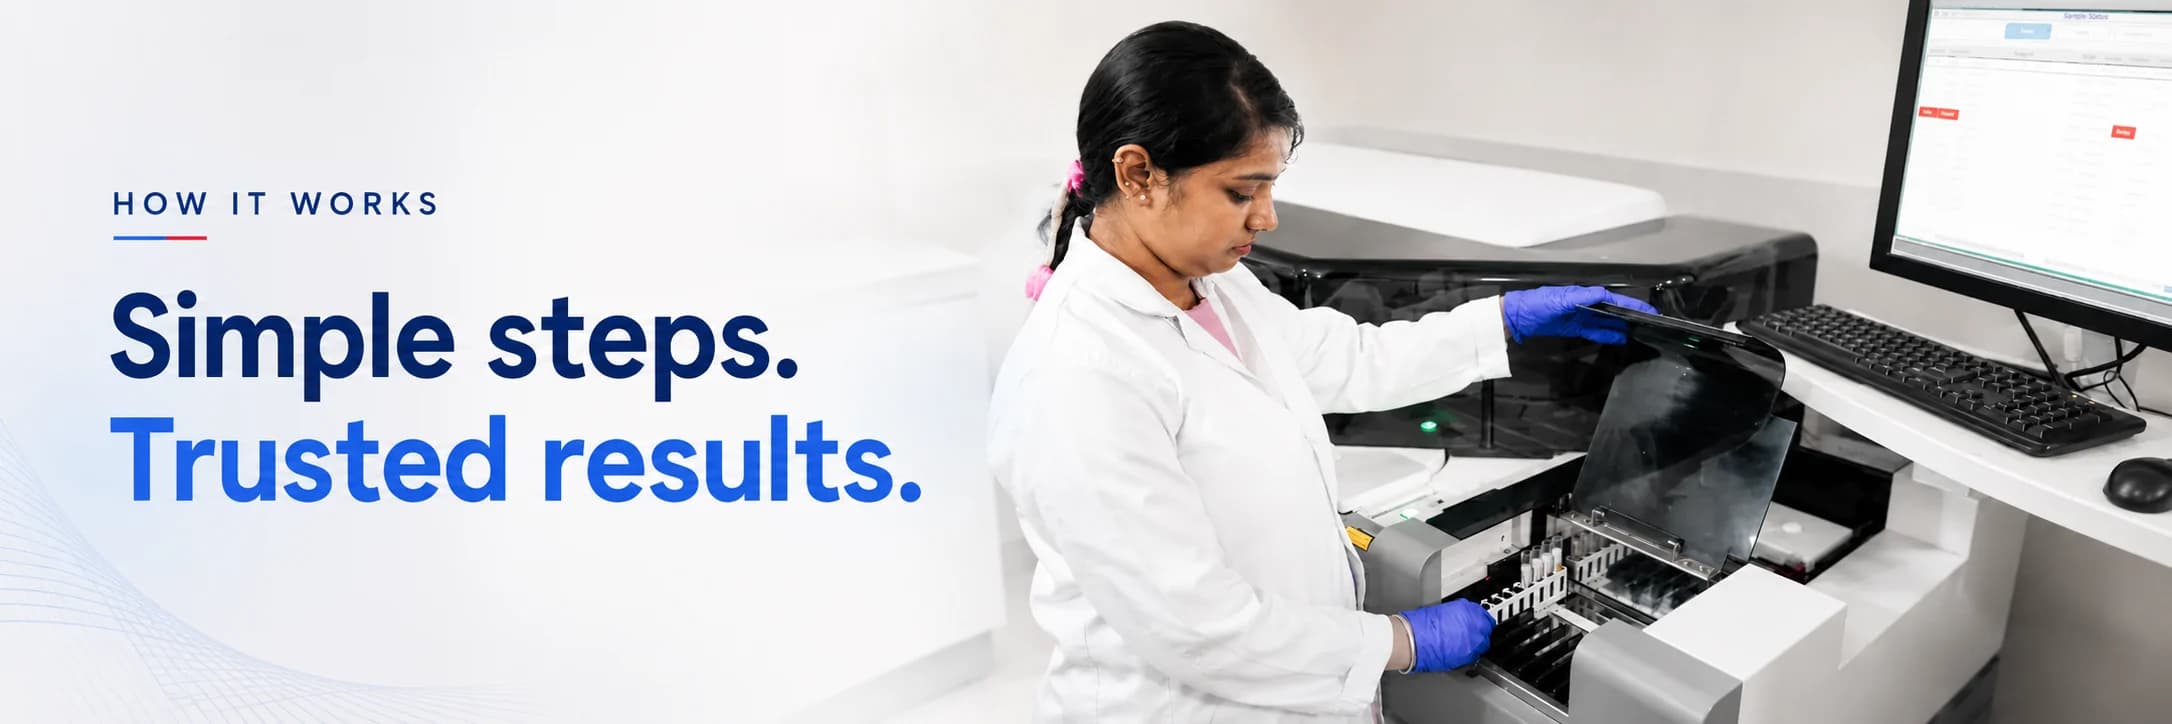
Your sample goes to the relevant section, where a technician verifies it against the system before it is run. The result is then reviewed by a pathologist — and anything unusual is sent back for a repeat test or a fresh sample rather than forward to you.
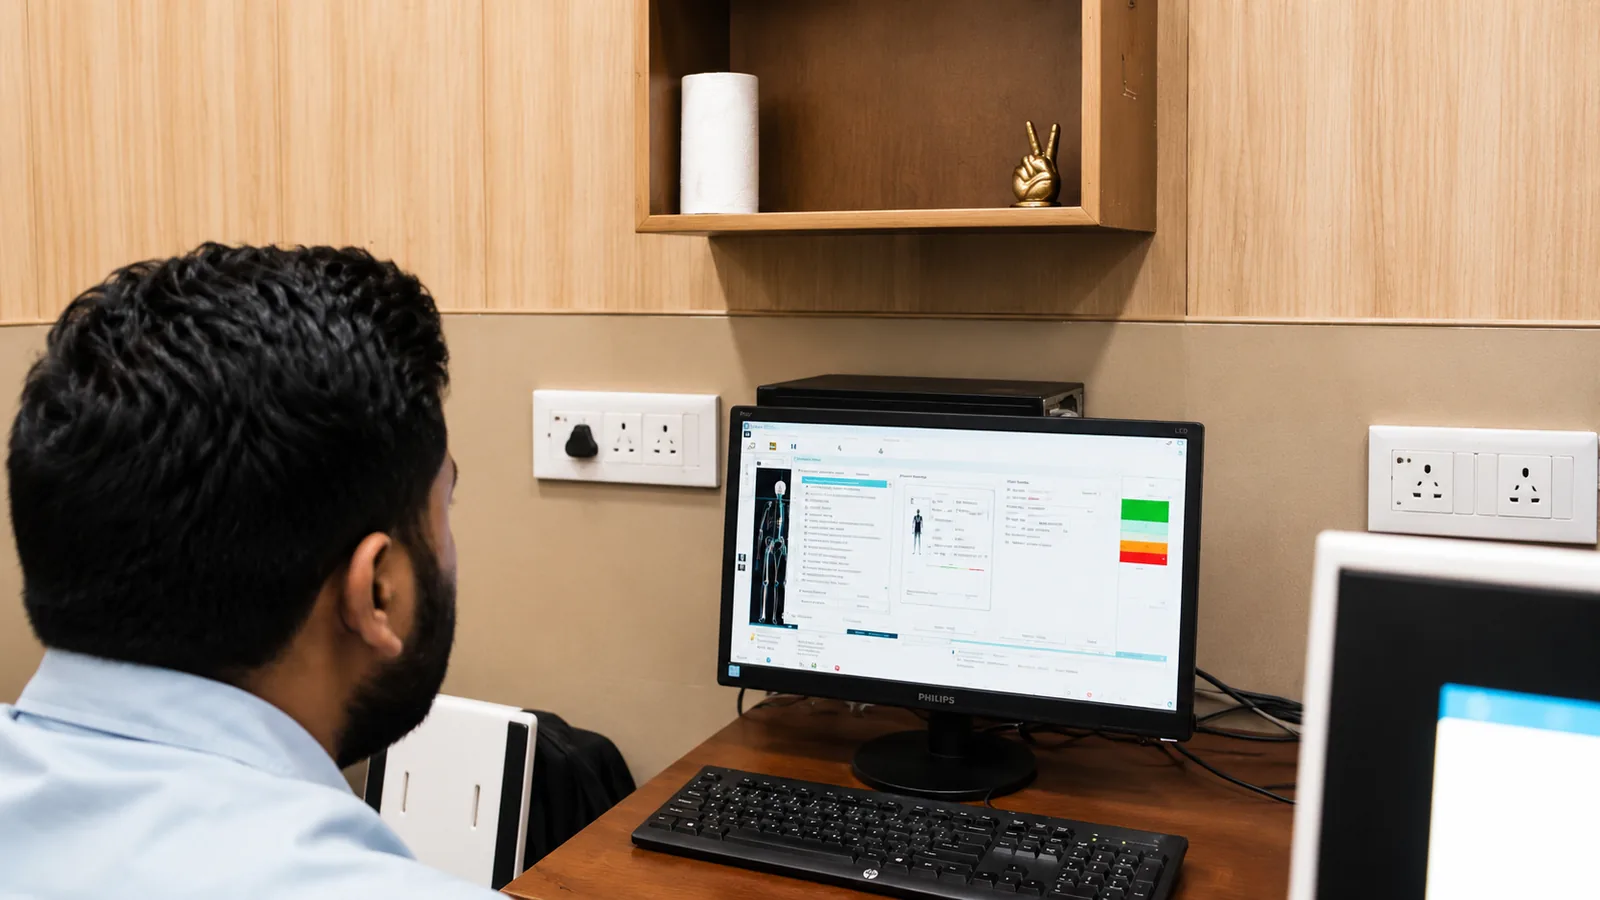
Get your report
Your report is available online to download or share with your doctor, usually the same day. You can track its progress at any time from your account or the status page.
Inside the laboratory
What actually happens to your sample
This is not a general description of how laboratories work. It is our own controlled process flow, stage by stage — the procedure the laboratory is audited against.
- 01
Billing & registration
Reception and billing- Answer your queries and give clarifications
- Prepare the receipt and enter the requisition detail into the laboratory information system (LIS)
- Collect the test charges
- Direct you to the sample collection room
Why it matters: Your tests enter the system as a record, not a slip of paper — which is what everything downstream is matched against.
- 02
Sample collection
Phlebotomist or consultant- Review the prescription and the registration slip
- Check the patient preparation requirements
- Generate the barcode
- Take your history and contact details and enter them into the LIS
- Put the barcode label on the vial
- Collect blood or body fluids
Why it matters: Your preparation is verified BEFORE the needle, and the barcode goes on the vial at your side — from this moment the sample is identified by code, not by handwriting.
- 03
Analysis
Laboratory- Samples are forwarded to the respective laboratory section for examination
Why it matters: Haematology, biochemistry, clinical pathology and molecular testing each have their own section and their own head of department.
- 04
Verification and testing
Technicians- Check and verify the sample against the LIS
- Analyse the sample on the respective machines
Why it matters: The sample is matched to its record before it is run — the step that catches a mix-up while it is still harmless.
- 05
Result entry
Technicians- Enter the data into the LIS as provided by the analysers
- 06
Authentication
Pathologist- Review the results
- Authenticate the report if the results are in order
- Send any unusual result back for a repeat test, or for a fresh sample
Why it matters: This is the gate. A result is not a report until a pathologist has authenticated it, and an unusual result goes backwards through the process rather than forwards to you.
- 07
Report generation and dispatch
Laboratory- Generate the report and dispatch it
Why it matters: The report reaches you online and at the centre, carrying the authority of the doctor who signed it.
Source: the centre’s Quality System Procedures, document CH/QSP/02 (“Process flow chart”). The stages and their listed actions are transcribed from it.
The paths back up the chart
What happens when something is wrong
Most process diagrams only draw the happy path. Ours draws the failure paths too — and those are the more informative half.
Repeat the test
An unusual or implausible result is re-run before anyone is told anything. The chart routes it back to the analysis stage rather than onward to a report.
Repeat the sample
Where the sample itself is the problem — insufficient volume, the wrong tube, clotted, haemolysed, or taken outside its stability window — a fresh one is requested rather than a doubtful result being released.
Analyse feedback
The chart runs a feedback rail alongside the whole process. What goes wrong is analysed, not merely fixed for the one patient it affected.
Specimen Rejection Record
PEP/QF/45Every rejected specimen is logged with its reason and the corrective action taken, including when the fresh sample was collected. If your sample has to be taken again, that is not an embarrassment being hidden — it is a controlled record, and the alternative is a result nobody should trust.
| Date & time | Specimen number / name | Type of sample | Reason for rejection | Corrective action — recollection date & time |
|---|---|---|---|---|
The form as it is kept in the laboratory — the rows are blanked because entries are patient records and are not published. Swipe the table to see every column.
Ready when you are
Booking takes a couple of minutes and needs no account. You can track your report the whole way, and sign in any time to download it.